How Do I Know My Vacuum Roof Rack Is Installed Correctly?
Compartir
Whether you’re mounting your rack for a weekend trip or everyday use, correct installation is key to ensuring everything performs as intended. Mount Evo vacuum racks are designed so that proper positioning happens naturally when the installation steps are followed, with the vacuum cups sitting evenly and securely on the surface.
The process begins with a clean, smooth mounting area. Before attaching the rack, wipe down the roof, glass, or any panel where the cups will be placed. Removing dust, dirt, and moisture allows the vacuum cups to achieve full contact with the surface, which is essential for optimal performance.
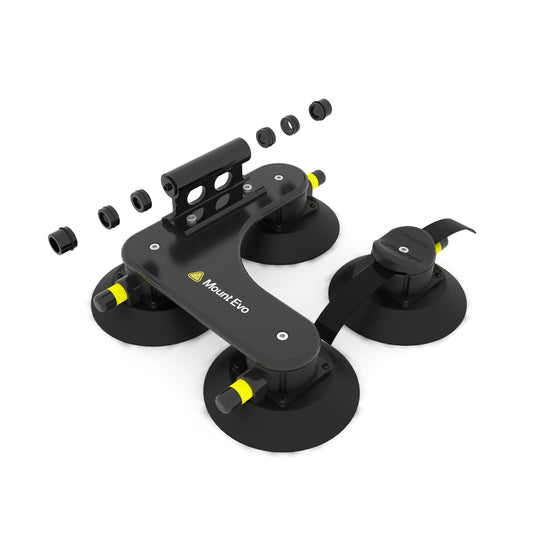
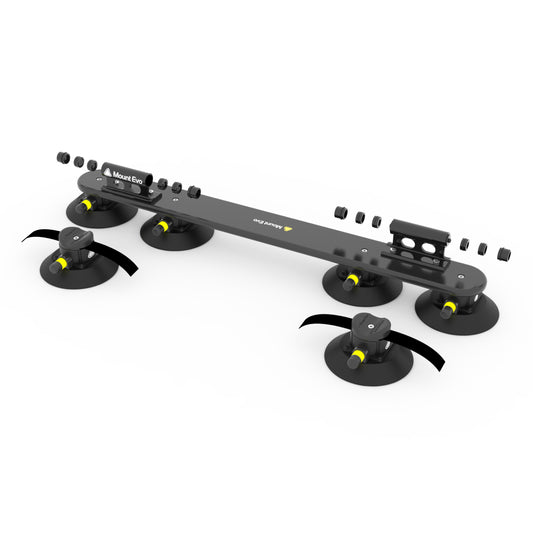
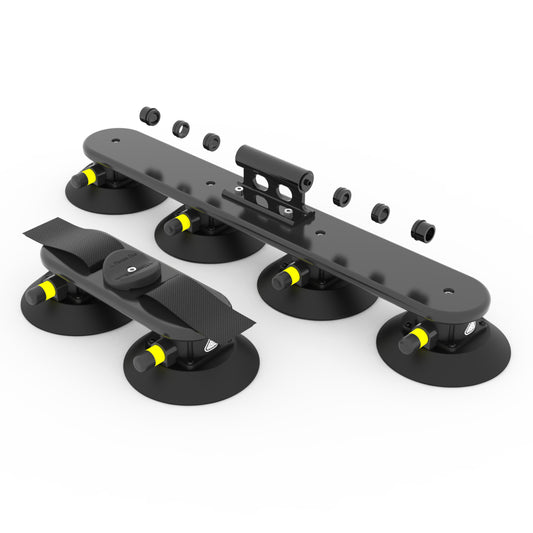
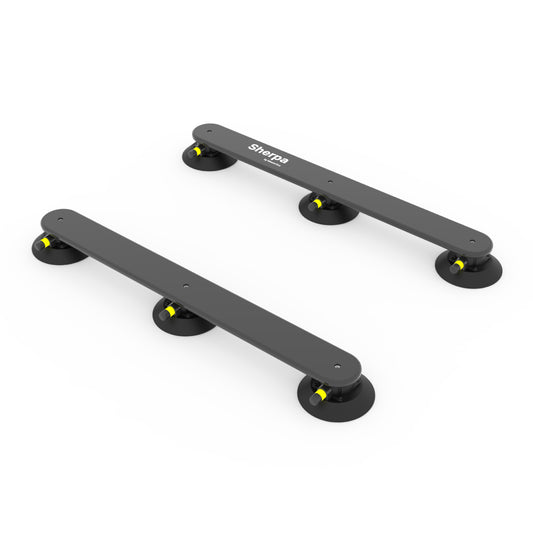
Each vacuum cup includes a yellow safety indicator that provides a clear visual reference during installation. When the vacuum is fully engaged, the indicator is no longer visible, confirming that the cup is correctly positioned and sealed. If any yellow remains visible, the cup should be repositioned until full engagement is achieved.
Once installed, the rack should feel evenly positioned across all contact points. The cups naturally sit flush when placed on a suitable surface, and the system distributes load across them as designed. It is also normal for some vehicles to have slight curves on the roof; applying pressure to engage the vacuum cups and ensure full contact with the surface is part of the standard installation process.
By following the standard installation steps and checking the vacuum indicators, you can confirm that the rack is installed correctly. The design of the system ensures that when each cup is fully engaged on a clean, suitable surface, the rack is positioned as intended and ready for use.